
The shore cords on our boat have taken a beating this summer. We have two 30-amp power plugs connected via a Y-cable to the dock power pedestal with a single 25-ft. 30-amp shore cord. The air conditioner runs on one plug and the rest of the boat on the other. With the AC chugging during most of the daylight hours this past month, combining those two plugs into one 30-amp cord began to heat up the connectors and earlier this week, one failed. We replaced the Y-cord and the 25-ft. cord to the dock with new ones that should last several seasons at least, but it made us think about replacing the plugs and connectors on our old cords. We also have a 50-ft. cord that we use when cruising. This allows use to leave our 25-ft. home marina cord at the dock (with the cable TV cable attached to it.)
The old connector that failed looked pretty nasty.

All of our cables were manufactured by Marinco and were pretty old, one going back a boat or two. While you can buy Marinco replacement male and female connectors, you can't disassemble the old plugs since they are molded to the ends of the shore cord. We did some investigation and found that replacement plugs made by Hubbell (right here in our home state of Connecticut) seemed to be of a lot better quality. We were going to replace at least one connector on two shore cords and one Y-cord, so here's what we ordered:
1 - Hubbell 305CRC 30A Female Connector - $20.95
2 - Huibbell 305CRP 30A male connector - $12.95 each
1 - Hubbell 102 boot - $10.95
2 - Hubbell 103R boot - $16.95 each
With $9.95 for shipping, the whole project totaled $109.65. Not too bad considering this put back in service two shore cords and a Y-cord that together would have cost $400.00 or more new.
In case you want to do a similar project, note that the Hubbell connectors shown on the top pages of most marine parts websites are a cheaper version that have an external clamp to hold the cable. They are far less waterproof that the ones we ordered and do not have a boot. Drill down and you'll find the good ones.
We began by cutting off the old connectors with a hacksaw.

Then we cut off 1-1/4 inch of the outside insulation. We found it necessary to follow the stripping dimensions carefully because they made a difference when we assembled the first connector.

With the outside insulation off, it was time to assemble all the loose pieces on the cable. If we forgot to do that now, we'd have to disassemble and do it all over again.
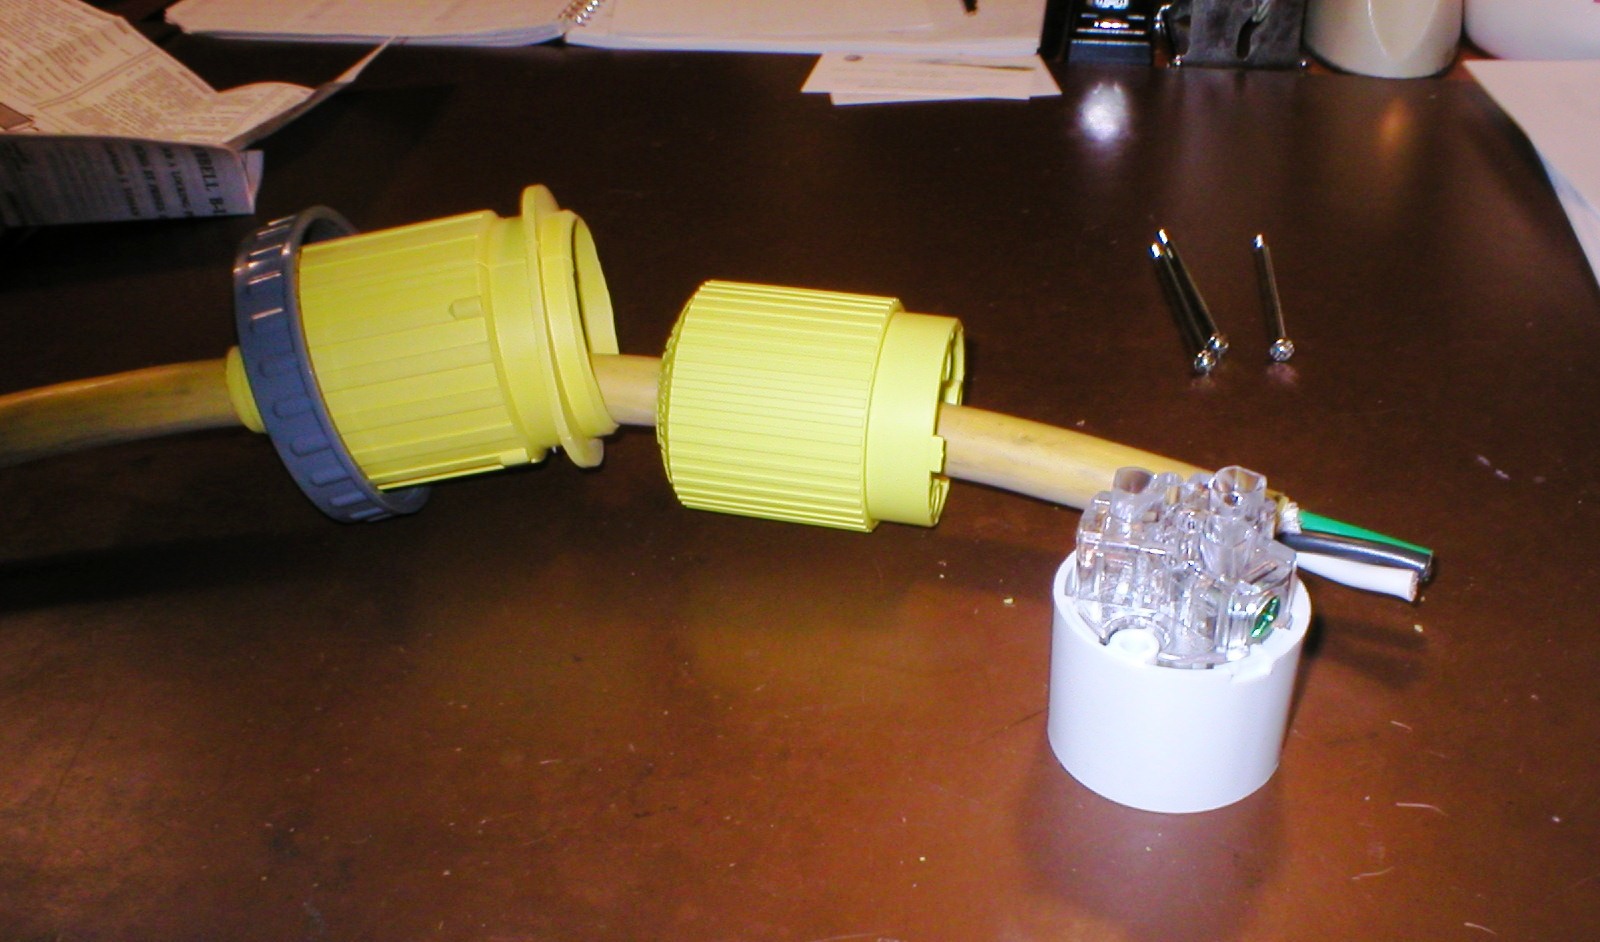
As the directions indicated, we trimmed just 5/8-inch of the insulation from the three #10 wires.

Five-eighths of an inch didn't look like enough but when we slid the three wires into the end assembly and tightened down the screws, it made a very neat installation.

Then we slid the pieces together. There is keyway on the end assembly that fits the collar. Once we found it, we were able to slide the pieces together and insert the three stainless screws. As we tightened each one a little bit at a time, the collar drew up tight on the wiring end assembly. While you can't see it at this point, those screws were also tightening down on a three clamping pieces inside the connector that hold the cable very securely.

Our final step was to slide the boot up the cable and over the connector itself. The boot appeared to be too small but with some careful tugging it did finally seat, nice and tight around the connector.
Here's the male version mounted on the Y-cable. All in all, a nice little job for cocktail hour that can save a few bucks.

No comments:
Post a Comment