We reinstalled the helm and then began the time consuming task of refilling the reservoir and bleeding the air out of the lines. This is a three line steering system, port, starboard and return.

First, we refilled the reservoir, opened the bleeder valves and, using our newly acquired bicycle pump, pressurized the steering system to 45 psi, as required by the bleeding instructions.

That's our new bicycle pump mounted neatly above the reservoir. At this point, it's necessary to crack open the port and starboard hydraulic lines on first the upper and then the lower helm to let out any air that is in the lines. Of course, to to that, we have to close the port engine hatch so we can put up the ladder to the bridge.
There was some air in the lines and after that was gone and the lines re-tightened, it was back down to the reservoir to top off the fluid and pressurize the system again. But first, take down the bridge ladder so the port engine hatch could be opened. This was getting old very fast.
However, ever faithful to the instructions, we then closed the port engine hatch, put up the bridge ladder again and began turning the upper helm wheel from center to port and back again. The instructions said to do this 60 times to port and then 60 time to starboard. This is where Frances came in. She watched the rudder arm as I turned the wheel, once, twice, three, four... on and on we went.
Then Frances yelled, "It moved!" Thank God. As we continued to move the wheel to port, the rudder arm picked up speed. Now we were getting somewhere! We switched to starboard and went through the same drill and eventually, the rudder moved the other way. By then, we had marked the wheel so we could count how many times it was turning. Interestingly, we could both hear the hydraulic fluid filling the lines as I cranked the wheel. With the rudder now moving properly, our taskmaster, the directions, indicated that we should go below and refill the reservoir. We did the ladder-hatch dance once again and found that about half of the fluid in the reservoir had been pumped in the system, so we refilled and then, you guessed it, went back to the bridge and cranked that wheel some more.
We also went through this same routine with the lower helm but since that one hadn't been removed, it went a lot faster.
We ended up having to add fluid once more before the system stabilized. Out total hydraulic fluid usage was one quart.
Fairly satisfied that we had accomplished what we had set out to do, Frances left to take care of some things she had to do.
The other thing on today's list was to remove the bimini top support that was bent during the October 30 snow storm, while our boat was still in the water. By the time we got to the boat after that storm, there was about two feet of wet, heavy snow on the top and one of the stainless support bows just couldn't take it.
We weren't looking forward to removing these mounting screws that looked as though they had been on there for decades.

It must have been the luck of the Irish (although we're not Irish) because all four screws backed out without too much effort. The bend in the support was pretty bad.


We took the bent piece off the boat with the intention of measuring it before looking for someone who could bend a new piece for us. But before we did, we put it on the ground and examined it closely. It wasn't cracked as we had thought. Why not try to straighten it?
We propped the bent tubing between two large blocks of wood and jumped on it. It began to bend back to its original shape. We kept repositioning it and jumping on the bend and before long, it looked pretty much the way it should. Two little kids in the shed helping their parents uncover their boat had quite a few giggles watching.
Tomorrow, we'll try erecting the bimini roof and see how it looks. Maybe we lucked out on this one on St. Patrick's Day.
The Sunday Erection
On Sunday, we took the bimini top out of storage and spread it out on the driveway. The outside was pretty grungy and even had a trace of seagull crap that we collected two summers ago at Montauk. We could take care of that later but right now, we wanted to see if it fit properly after we had straightened that bent support bow.
We went to the boat yard (first time we needed air conditioning in the car this year) and began by erecting just the three stainless steel support bows on which the top mounts. They went up okay but there seemed to be something wrong and there was. Yesterday, when we straightened the bent section, we reinstalled it backwards. It took a while to disconnect that one bow again and swing it around the other way. A 9-ft. piece of stainless steel tubing doesn't go where you want it too without some emphatic cursing, but we finally got it back in place, this time facing the right direction.
Then we dragged the top up onto the bridge, spread it out and then crawled underneath to slip the bows into position so the zippers would all close. We don't know why we always forget how dark it is under there and how difficult it can be to start all the zippers.
Once erected, it looked okay. The sag in the material from the bent bow was now gone and the top looked nice and tight. We disassembled it and brought it home for a thorough cleaning.
It was a beautiful spring afternoon and we had decided the only way to clean this big thing was to lay it on on the driveway and scrub it by hand.

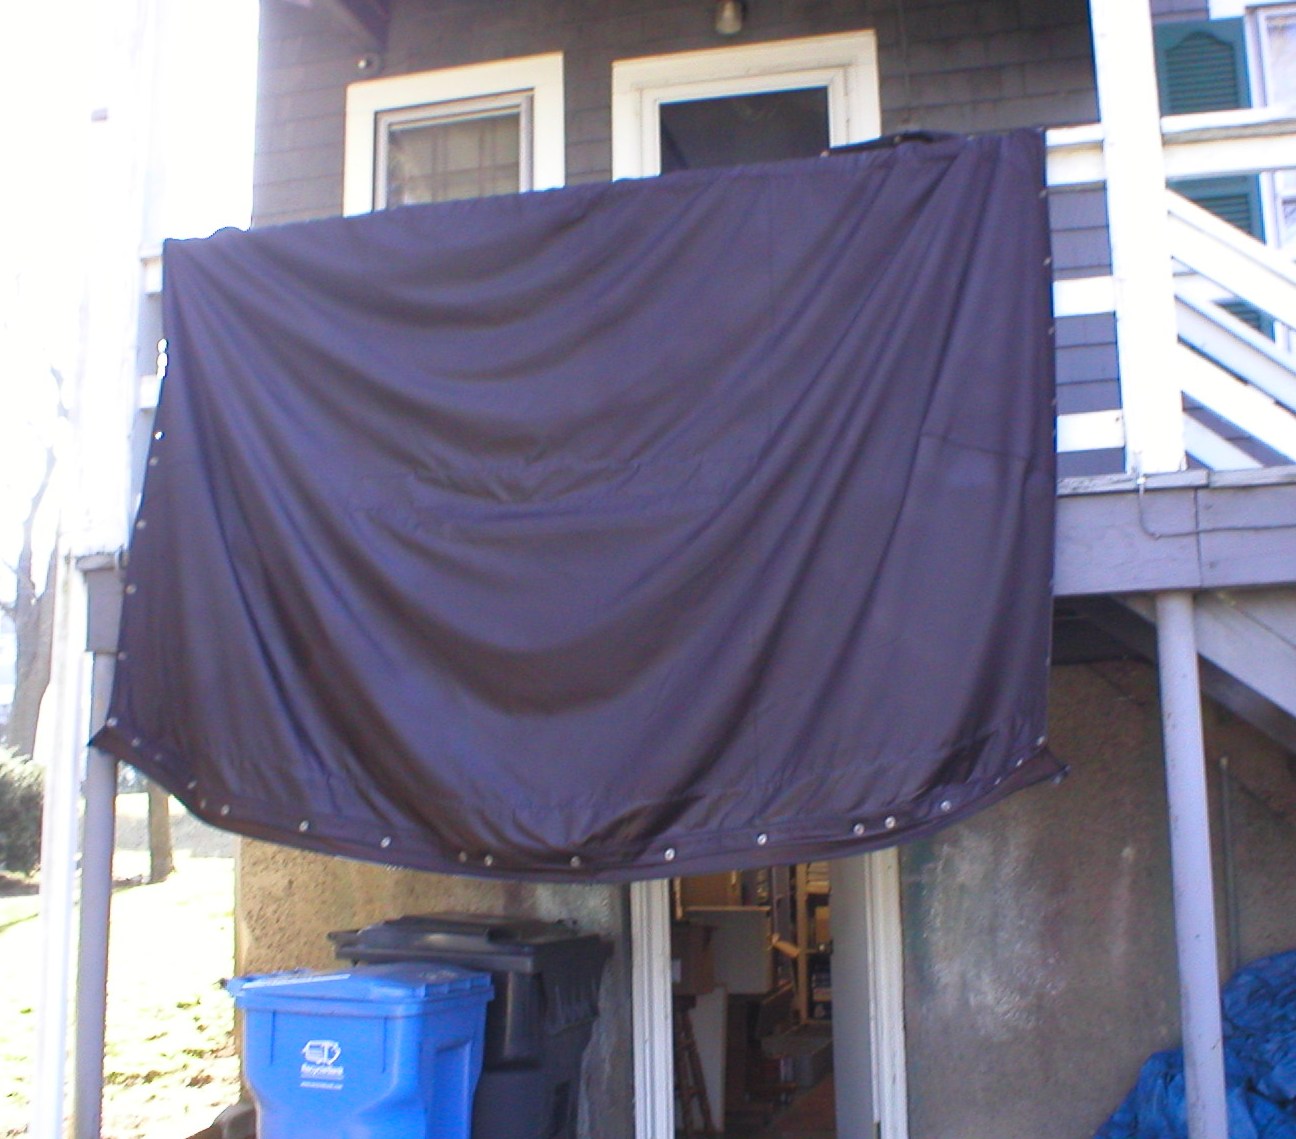
We used dish washing liquid and from the color of the water, a lot of dirt came out. We then hung the top from our back porch and really rinsed it thoroughly with the hose. With any luck, it should be dry by tomorrow afternoon.
We're going to apply 303 High Tech Fabric Guard to waterproof this top. We've used it before and have not had the waterproofing hold through the entire season. We looked at the Fabric Guard website and it seems that we may not have been applying this stuff correctly. They recommend two light coats and the use of one of those garden sprayers that you pressurize with a hand pump. (We used the squirt bottle the last time.) Frances has a really nice garden sprayer that we are going to add as an Act Three boat maintenance tool.
Next weekend, we'll re-erect the newly waterproofed top and cross that off the list.
Thanks for sharing this article! Explore EliteShield's broad selection of Bimini Top
ReplyDelete, including an array of colors, lengths, and widths, to find the best high-quality bimini top for your boat! This is an excellent article.