Our goal was to run new DC power cables from the batteries to the bridge helm. Like the lower helm, we want the starboard instruments and ignition circuit to operate from the starboard batteries and the same for the port side. That meant running two #8 wires up from the batteries and one ground (also #8) because the original wiring seems to have a very robust ground circuit. These new power wires would parallel the original Silverton ignition wiring.
Once at the upper helm, we would divide the various accessory loads between the two new circuits. That will include the radar, the VHF radio, the chart plotter, the trim tabs and the air horn and, if we can fine the space, our 2-meter-70 CM amateur radio.
#8 cable has a mind of its own as soon it is off the spool. Keeping everything untangled took a little time. Here's the wiring on its way to the bridge.

The white wire is actually plastic clothes line, which we had to pull up so that we'd have a pilot line to install the new transmission and throttle control cables later.
It took some tugging and running back down to untangle with wires but after a while, we got the wire bundle up the access tube on the starboard side and onto the bridge We then routed the three wires (less the clothes line) up under the helm were they will be connected.
Not a very interesting photo but it was great to see those big wires where they are supposed to be.

In the course of pulling up these wires, one of the loose #8 wires snagged our four-cell LED Maglight that was sitting on the deck and while we watched from above, flipped it into the bilge where we could hear it rolling down under the starboard engine. We'll put out a search party for that later.
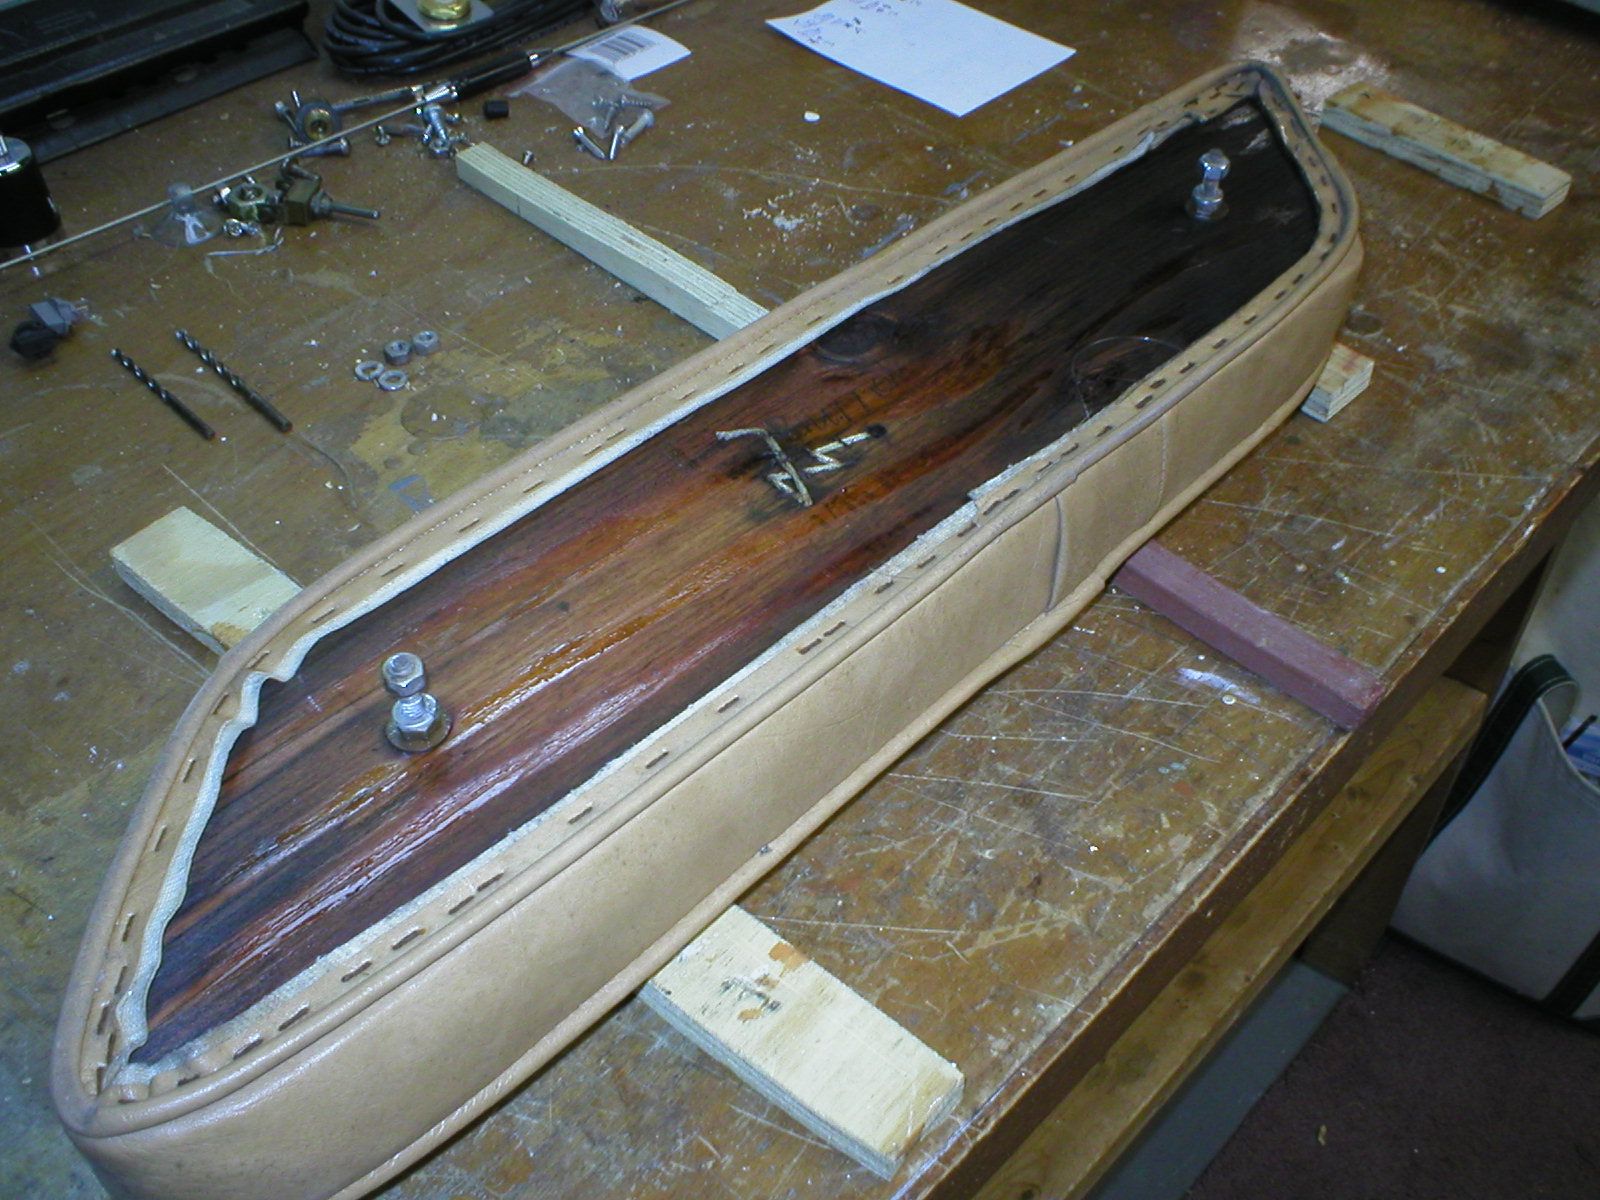
When we started this part of the rewiring project, we removed the starboard Naugahyde bolsters so we could get a better look at all the wiring. This week, we thought WTF, why not take the port side bolsters off too and bring them home for cleaning and reconditioning?
As we mentioned previously, these bolsters are Naugahyde over foam, stapled to 1/4-inch plywood. They were in amazingly good shape for a 32-year old boat but the plywood had some small punky spots. We decided to apply Smith's CPES to the exposed plywood. CPES takes us back to our wood boat days, where it never failed us. CPES glues old wood fibers together and stops the wood spores that create the rot. We brushed it on liberally and watched the plywood soak it up. More is better here and when the wood stops absorbing the CPES, that's enough. Here's a bolster after a first application of CPES. We'll reinforce each bolster with stainless staples before we reinstall them.
During the week, we also got a chance to strengthen our little cockpit ladder. It seemed to us that simply gluing the steps back together would never hold up to frequent use on the boat so we added some aluminum strips, fastened to each section of step.


No comments:
Post a Comment