
We think we previously explained that we wanted to hide all the wiring in the guest berth before we painted all of the walls and re-varnished the trim. When we left last weekend, it was obvious that we're going to need a lot of stuff, some of which we had and some we had to buy.
We began by making a list and that list got bigger as the week went on. It turned out that we had a couple of short sections of that plastic raceway but we need a "T" to hide the wires on the forward wall. We found that at Home Depot.
Speaking of Home Depot, Frances was concerned that we wouldn't position the reading light on the forward wall in exactly the right place. With that in mind, we took a few hours off from work and went to the boat together. Frances marked the spot with a piece of tape.
You know it will be mounted exactly here.

Needless to say, by Saturday morning, we had all of what we thought was required and we went to the boat. It was a nice day but we had little time to chat. Time to get to work.
We tackled the aft wall of the guest berth first. We tried to fill the holes and the places where the old wall covering had been ripped but our spackling compound was too cold. We left it bake to in the car for a while and then we were able to fill all the old voids.
The idea was to cover the power and cable TV wires to the TV and still leave enough slack so that the TV could still swing around to be seen from the cabin.
After a few tries, that worked out fine and it should look great when everything is painted.
We also rewired the place where the lower guest berth light will go. As it was, it worked only when the cabin lights were on. Now it works independently.

Where else to you get a blog showing a picture of two wires coming though a hole?
On Sunday, after a good long dose of The New York Times, we tackled the forward wall of the guest berth. As we mention in the video, learning how to work with this plastic raceway is an interesting but useless new skill. We'll probably never use this stuff again but it worked just fine for what we're trying to accomplish.
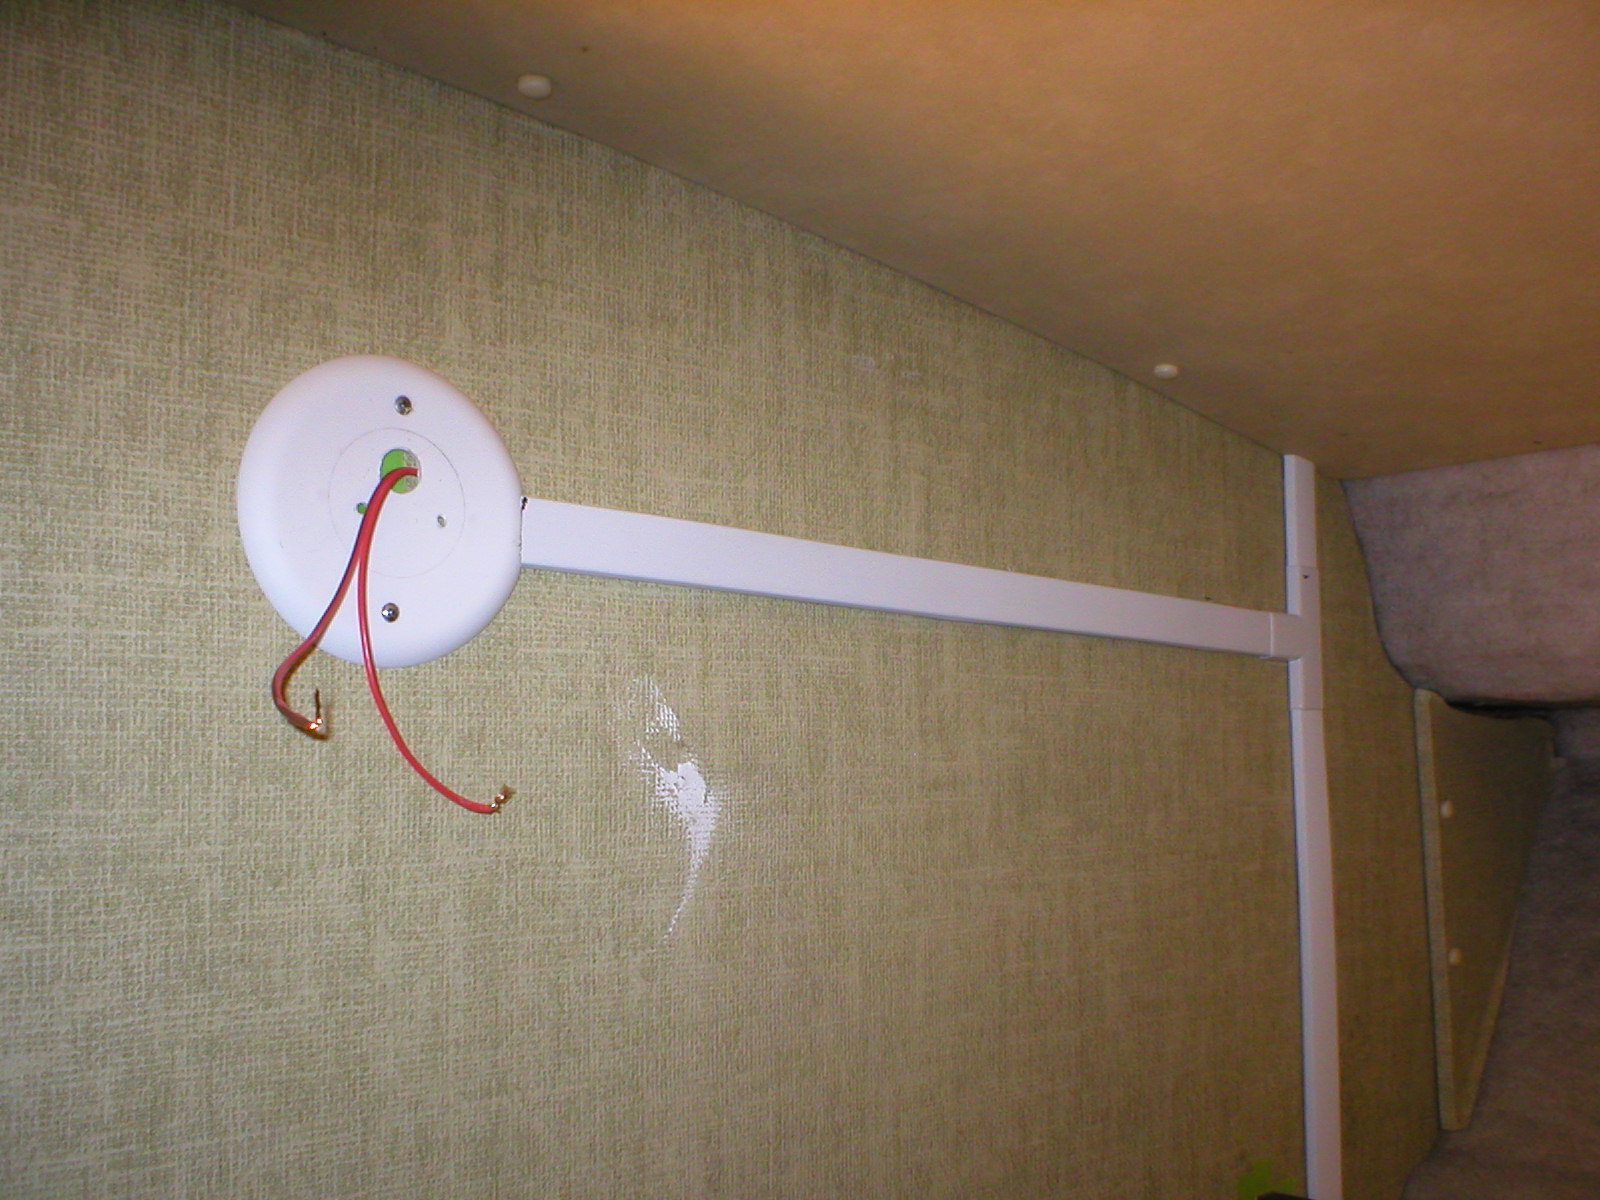
Once all the plastic raceway pieces were cut and snapped in place, it looked good. Well, here the whole wall looks somewhat rough, but once we sand down the spackling compound and apply two coats of paint, it should look as though no one ever did any redecorating.
That round piece where out reading light will mount is testament to taking a walk through Home Depot before you start making something new. We needed something that would allow us to get the wires behind the reading light and still look good. Frances and I found this $1.98 plastic thing that is meant to cover a hole once a ceiling fixture was removed.

We used a Dremel to cut a notch in the side and also drilled mounting holes for the new reading light. Worked perfectly.
Since we were on a roll, also taped off all the trim in the guest berth area so next weekend we'll be able to apply a coat of Sikkens. The taping took us less time than we thought it would, which is a first for most of our boat projects.
No comments:
Post a Comment